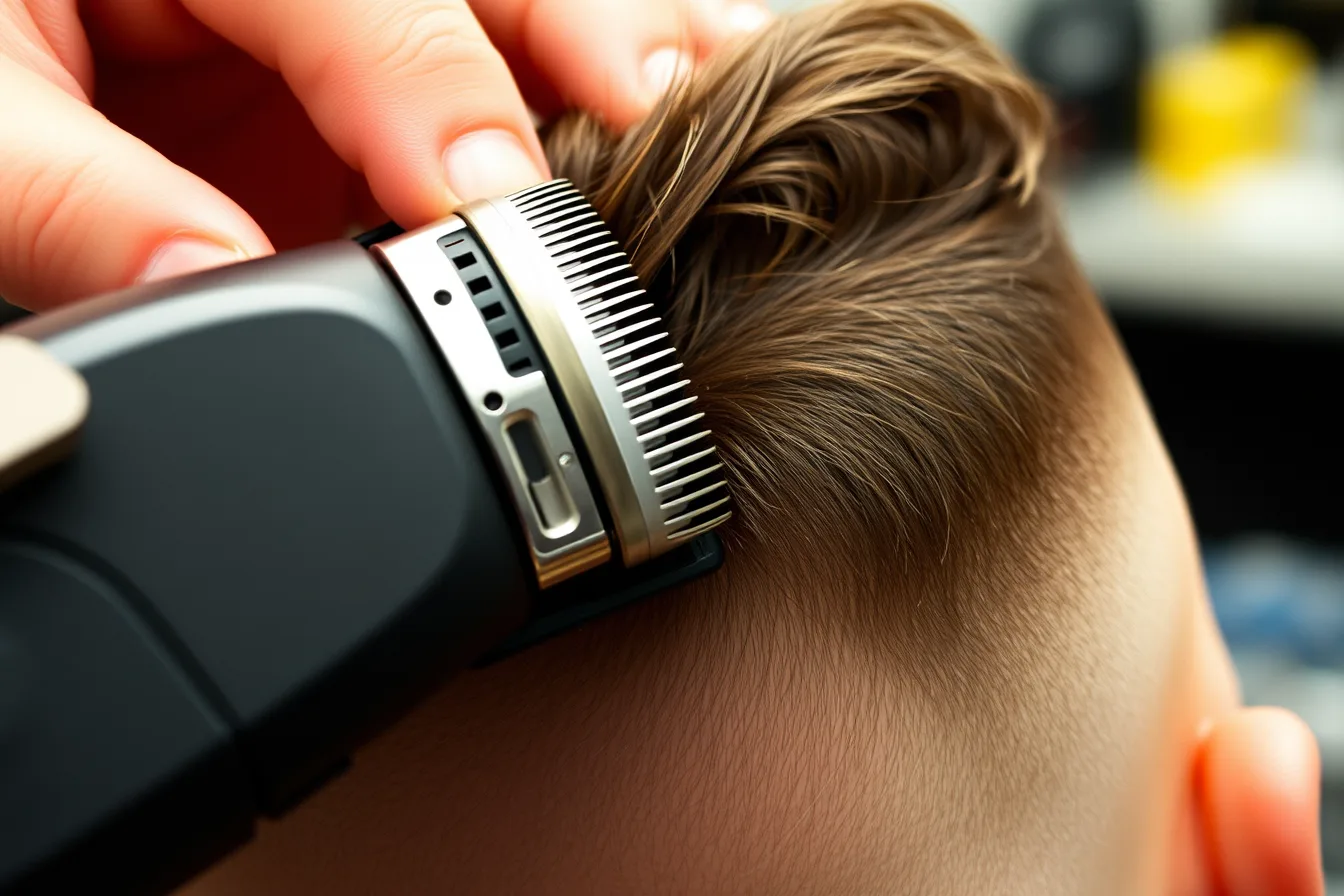
Guides
From blade control to the final blend check: a clipper cutting guide
Clipper cutting guide covering blade and guard systems, lever control, taper zones, bulk removal, blend checks, outlines, scalp safety, maintenance, and records.
What to take away
- Guard labels are system-specific; confirm the actual cutting setup.
- Establish the silhouette and transition zones before placing a short baseline.
- Use the blade corner and controlled strokes instead of grinding at a dark line.
- Check growth direction, density, scalp folds, and skin condition throughout.
- Clean, disinfect, inspect, and maintain the clipper under current rules and instructions.
A clipper creates short, repeatable lengths when its blade, guard, lever, hand angle, and travel path are controlled. It does not create a fade by itself. The fade comes from planned length transitions around a three-dimensional head.
Define the finished shape
Agree on the shortest zone, highest transition, remaining weight, outline, sideburn, nape, and top connection. Show the client where scalp will be most visible. A "low" fade should be demonstrated on this head rather than treated as a universal measurement. The differences between taper, fade, undercut, and uniform are structural, not tool names.
Map crown whorls, flat and prominent areas, recessions, scars, and moles. Note folds, irritation, and density changes; do not pass a blade over broken or unsuitable skin.
Nevada's licensing code states the same limit. A licensee shall not perform any service on skin or scalp that is inflamed, infected, or broken, or on a client whose skin shows signs of secreting bodily fluids; use a longer test area when exposure is uncertain.
Know the machine as a system
The blade, adjustable lever, detachable blade, guard, motor, battery, and operator technique work together. Guard numbers are not a universal unit of length across all products. Record the manufacturer system and cutting length if the maker states one.
The Australian training register's unit on over-comb haircut techniques covers clipper-over-comb, attachments, guidelines, cross-checking, blending, outlining, and faded hairlines. It also requires suitable lubricants, coolants, disinfectants, guards, and clean work controls. This supports treating clipper work as a complete process rather than a sequence of guard numbers.
Build zones before lines
Divide the head into working bands:
| Zone | Decision |
|---|---|
| Baseline | Shortest length and exact boundary |
| Lower transition | First increase in length |
| Upper transition | Connection into weight |
| Ridge or weight area | Keep, soften, or disconnect |
| Top | Scissor, guard, freehand, or separate structure |
| Outline | Natural, tapered, defined, or left soft |
Work below the intended upper limit at first. Raising a fade is easy; lowering one after removal is impossible. Mark each boundary in the mirror and confirm that the client sees the same transition map before starting.
Use the blade deliberately
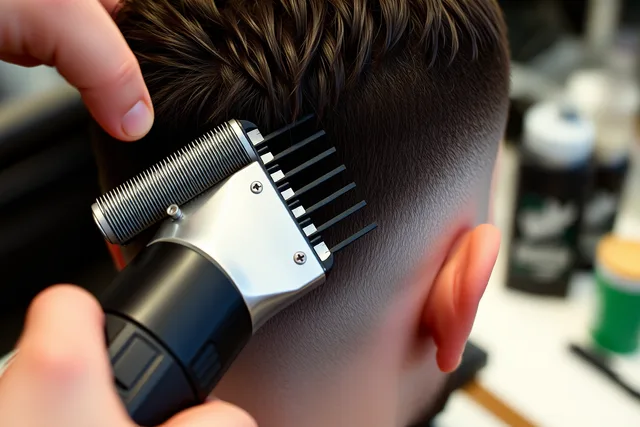
Keep the skin stable without excessive pressure. Follow the manufacturer's safe operating orientation. Use the full blade for broad, even removal and the corner for small dark areas. A scooping or flicking motion can reduce the time the blade stays against one point, but it must end at the planned zone.
With an adjustable lever, change one known amount at a time and record the working order used by the salon. Repeated half-step guessing can create new bands. Brush away loose hair so it does not mimic density.
Blend through visible checks
Use consistent light and view the head from front, profiles, back, and above. Ask the client to sit upright. A shadow may come from:
- remaining length;
- a skull curve;
- darker or denser hair;
- change in growth direction;
- product or dampness;
- an actual unblended band.
Comb, brush, dry, and move the hair before cutting the shadow. If the length is correct but density differs, shortening the whole band may create scalp exposure without making the tone identical.
Connect the top with purpose
Clipper-over-comb, scissor-over-comb, guarded work, or a deliberate disconnection can join the side to the top, and a worked example is in building a low taper. Keep the comb angle tied to the silhouette.
Following the head too closely may round a square shape; holding the comb too far out may leave an unintended shelf. The scissor side of that judgment is in the scissor haircutting guide.
Detail without drawing a helmet
Agree on natural or sharp outlines. Use light pressure at the forehead, temple, ears, and nape. Preserve natural irregularities unless the client requests a defined change and the skin allows it. Repeatedly chasing one corner can push the entire line back.
Check blade temperature on a safe surface and stop if the client reports heat, pinching, or discomfort. Replace or service damaged guards and misaligned blades.
Close the service
Remove loose hair gently, show every view, and record the shortest setup, transition height, top connection, outline, and any protected area. Clean and disinfect the clipper and guards under applicable rules and the product label. Store clean tools away from used ones. The clipper service setup and finish list covers those steps in order.
Common questions
Does the same guard number cut the same length on every clipper?
No. Confirm the specific guard and blade system rather than assuming universal labels.
Should a fade begin with the shortest zone?
Only after the boundary and exposure are agreed. Work conservatively when the final height is uncertain.
Is every dark area an unblended line?
No. Head shape, density, color, direction, product, and lighting can also create a shadow.
Why record the machine setup?
It helps reproduce the result and separates the intended setting from a vague guard name.
In this guide
- Building a low taper with conservative baselines and clean transitionsBuild a low taper with agreed boundaries, conservative baselines, controlled lever and guard steps, transition checks, clean outlines, and service records.
- Taper, fade, undercut and uniform short-cut structures comparedTaper, fade, undercut, and uniform short cut compared by length map, connection, scalp exposure, tools, styling, maintenance, and growth-out.
- The clipper service checklist runs from consultation to final recordClipper service checklist for consultation, blade and guard inspection, sanitation, taper mapping, transition control, skin and heat checks, outlining, and records.
- 8 clipper cutting problems, and how to fix each oneClipper cutting problems guide for dark lines, light patches, lost corners, high fades, scalp exposure, pulling, heat, contamination, and controlled repair choices.
- An over-raised fade correction case: rebuilding one band at a timeOver-raised fade case showing how a barber mapped the shortest zone, protected remaining weight, corrected one hard band, reset the outline, and planned growth.