Guides
Part of Haircut design fundamentals: shape, weight, texture, and movement in 2027
Mapping head shape and natural hair movement before you cut
Map head shape and natural hair movement with repeatable landmarks, dry observation, growth-direction notes, zone tests, photographs, and design checkpoints.
What to take away
- Observe dry hair before shampooing, combing, or changing the part.
- Use stable anatomical landmarks instead of guessing from a mirror view.
- Map direction, lift, split, and collapse separately.
- Test small sections with the intended length and styling method.
- Transfer the map into the sectioning and checkpoint plan.
A movement map records how hair leaves the scalp and behaves at its current length. It is not a diagnosis or a permanent label. Product, moisture, sleep, heat, extensions, recent headwear, and an old haircut can all distort what appears natural. The map feeds the design stage described in haircut design fundamentals.
Step 1: establish a neutral view
Seat the client upright with feet supported and shoulders relaxed. Remove scarves, clips, and tight ties. Ask how the hair was dried and when it was last washed. Do not wet or brush it yet.
Observe from front, both profiles, back, and above. Take consented reference photographs at head level rather than from a dramatic high or low angle. Include a neutral whole-head frame before close details.
Step 2: mark stable landmarks
Use landmarks that can be found again:
- center front hairline;
- highest point of the head;
- crown transition;
- recession and temple areas;
- top of each ear;
- mastoid area behind each ear;
- occipital prominence;
- nape center and corners.
Do not draw a section because a diagram says it should be there. Feel the client's actual curve and note asymmetry. One side of the head may project or flatten differently, affecting apparent weight.
Step 3: trace growth direction
Lift small, dry sections and let them settle. At the hairline, temples, crown, behind the ears, and nape, draw arrows showing the direction the roots lead. Mark changes as:
- outward lift;
- forward or backward sweep;
- clockwise or counterclockwise rotation;
- split;
- convergence;
- downward flat growth;
- irregular or mixed direction.
Step 4: distinguish direction from behavior
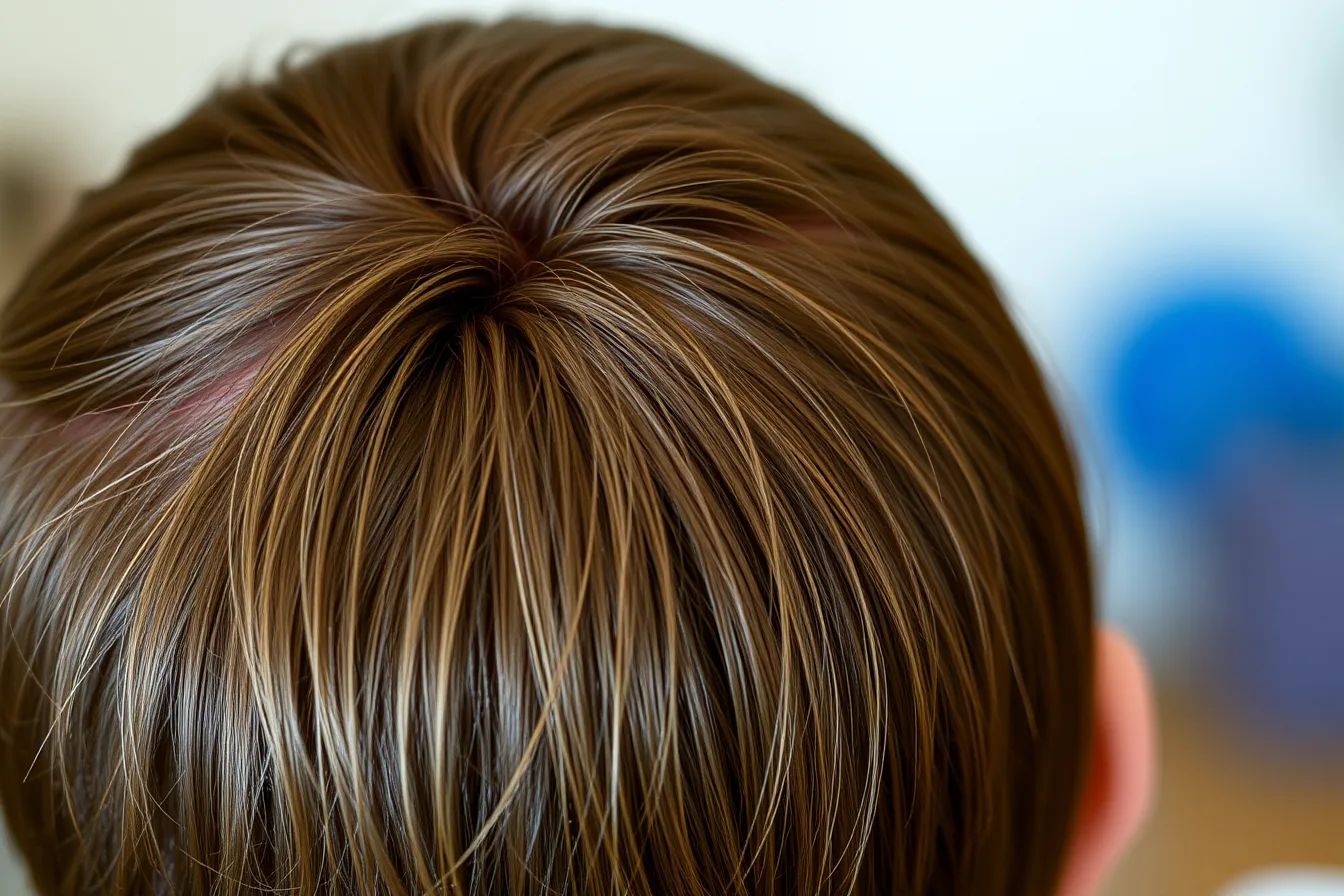
A retrospective review of 534 patients proposing a whorl classification for scalp hair identified five natural patterns, found the variation between them lay mostly in the tightness and direction of the spiral, and reported that some heads show a diffusion pattern instead of one distinct whorl. Record what you see rather than the pattern you expected.
Root direction is only one input. Record what the current lengths do after leaving the scalp:
| Observation | Question to test |
|---|---|
| Lift | Does it persist after dampening and drying? |
| Split | Is it rooted, length-driven, or product-set? |
| Collapse | Is weight, density, condition, or head curve involved? |
| Expansion | How much changes between wet and dry? |
| Bend or curl | Is it consistent through the zone or mixed? |
| Flip at perimeter | Does clothing, shoulder contact, or old graduation cause it? |
Do not call every resistant section a cowlick. On very short work the whorl decides the result, which is why the clipper cutting guide begins with the same map. Repeat the observation after gentle cleansing or misting if the starting state was heavily set.
Step 5: test likely length zones
Hold a transparent section at the proposed length without cutting. Release it in the direction it naturally falls. For a fringe, test how the front springs, divides, or shifts when the client raises brows and moves the head. For a short crown, consider whether the proposed length will stand, separate, or expose scalp.
On curly or coily hair, compare unstretched dry length, gently extended length, and damp response. Do not turn that test into a promise that every strand will shrink by the same amount. How far density, diameter, and curl differ across one head is worth recording separately.
Step 6: convert observations into design controls
For each zone, write a response:
| Zone | Observed behavior | Design response | Check when |
|---|---|---|---|
| Front hairline | Dry and moving | ||
| Crown | Before shortening further | ||
| Above ears | Natural fall | ||
| Occipital area | Profile and back | ||
| Nape | Upright, no tension |
Possible responses include preserving extra length, reducing tension, changing distribution, using a flexible part, avoiding an exposed corner, building controlled disconnection, or choosing a longer maintenance interval.
England's official Hair Professional occupational standard places consultation, examination of hair, skin, scalp, facial characteristics, lifestyle, hair classification, suspected infection, growth cycles, and maintenance advice within professional hair practice. That supports a joined-up assessment: the movement map must be interpreted with the client's needs and service suitability, not treated as an isolated drawing.
Step 7: verify during the cut
Keep the map visible. Before cutting a marked whorl or hairline, release the section and confirm the behavior again. Check after the hair is dried in the agreed method. If the movement differs from the map, update the plan and explain the effect before taking more length. That check belongs inside the routine for building and following a guideline.
Save only the minimum useful record. A written arrow map may be enough. If photographs are retained, apply consent, access, retention, and deletion rules.
Common questions
Should hair be mapped wet or dry?
Begin dry, then compare damp or wet behavior when that state is part of the planned service.
Is a double whorl a problem?
No. It is a growth pattern to account for, especially when choosing crown length and direction.
Can product create a false movement pattern?
Yes. Heavy product, heat-setting, braids, headwear, and sleep can change the starting appearance.
Does the head-shape map dictate one haircut?
No. It identifies constraints and options; the client and stylist still choose the design.