Guides
Part of Sectioning through dry refinement: a scissor haircutting guide
How to build a haircut guideline you can actually follow and cross-check
Build and follow a haircut guideline with a clear starting point, controlled sections, repeatable elevation, distribution, tension, checkpoints, and cross-checks.
What to take away
- Name the guide type, direction, and purpose before cutting it.
- Make the first guide small enough to control and long enough to verify.
- Expose only the amount of guide the next subsection needs.
- Reset posture, moisture, distribution, and tension at every section.
- Stop and rebuild the reference when the guide disappears.
A guideline is the length reference organizing a cut, and it may travel with the work, stay in one place, form the exterior edge, or sit inside the shape.
Skill means more than seeing a short strand. It is knowing why that strand is the reference and how each new section relates to it.
The structural decisions behind that reference are set out in haircut design fundamentals.
Step 1: name the guide
Write four facts:
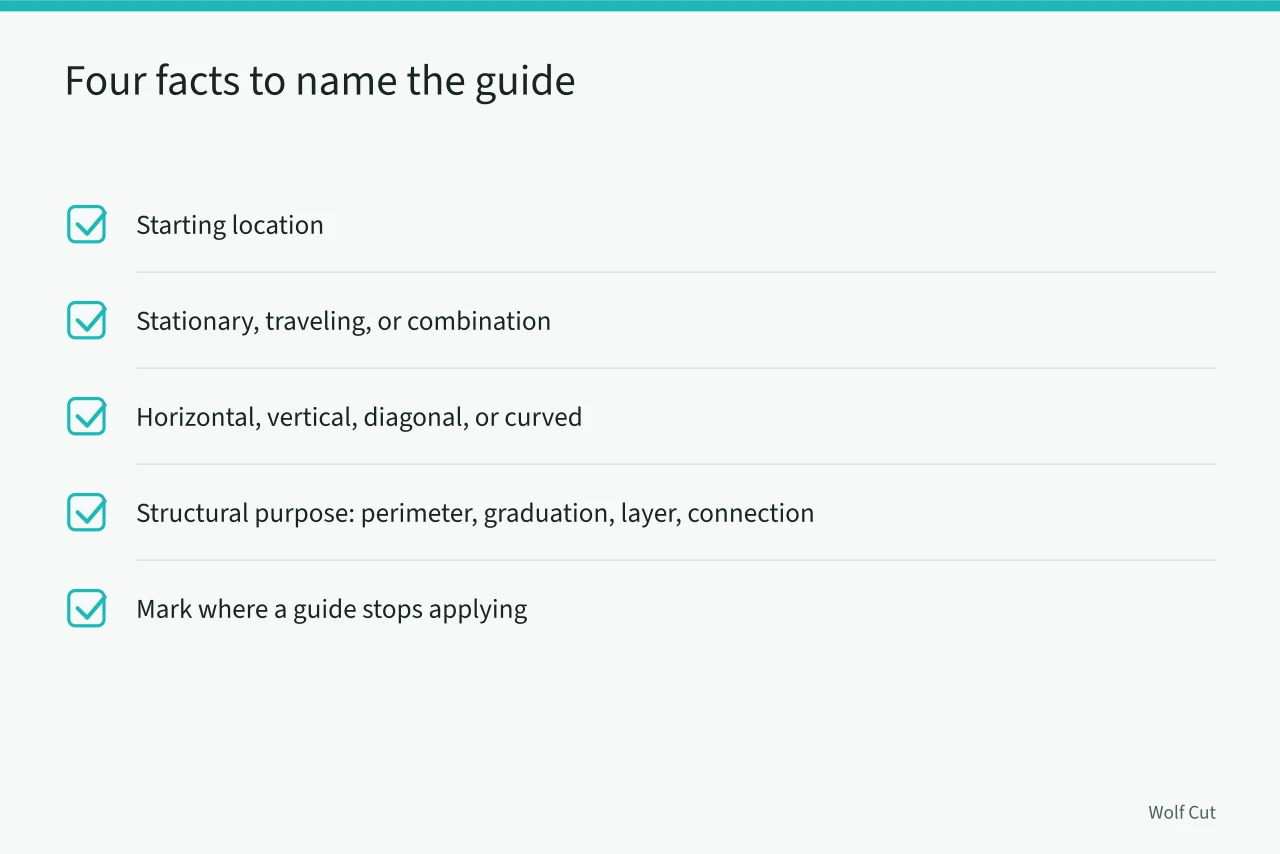
- starting location;
- stationary, traveling, or combination behavior;
- horizontal, vertical, diagonal, or curved direction;
- structural purpose, such as perimeter, graduation, layer, or connection.
If the design uses disconnection, mark where a guide stops applying. Otherwise, a later cross-check may blend away the separation. The scissor setup and cross-check list treats that mark as a recorded item.
Step 2: prepare consistent sections
Comb the hair in the state specified by the plan. Create the main divisions and clip them without twisting roots. Work with subsections narrow enough to reveal the reference through the new hair.
Check moisture throughout a wet cut: a drying section can contract, resist the comb, and alter tension.
A study of hair breakage during combing found wet and dry combing fail differently: water clumps fibers by capillary action and reduces short breaks near tips. Higher friction and lower breaking load from plasticization cause more long-segment breaks higher up. For a dry cut, keep product and stretch consistent by zone.
Step 3: cut a conservative first guide
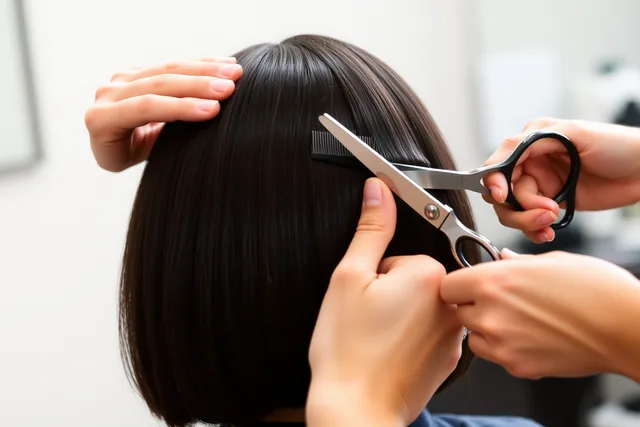
Use a small section at the planned starting point. Position the client and your body for the actual line. Set elevation, distribution, finger angle, and tension. Cut slightly longer when dry movement or client uncertainty warrants a safety margin. The wider control chain is covered in the scissor haircutting guide.
Release the guide. Let it fall without the comb, check it from the intended view, and confirm that it matches the agreed minimum length. A reference that is wrong at the start will repeat through the shape.
Step 4: borrow only enough guide
For a traveling guide, the next subsection should contain a controlled portion of the previously cut section. Too little guide leaves the target unclear. Too much old hair can pull the work backward and compress the section.
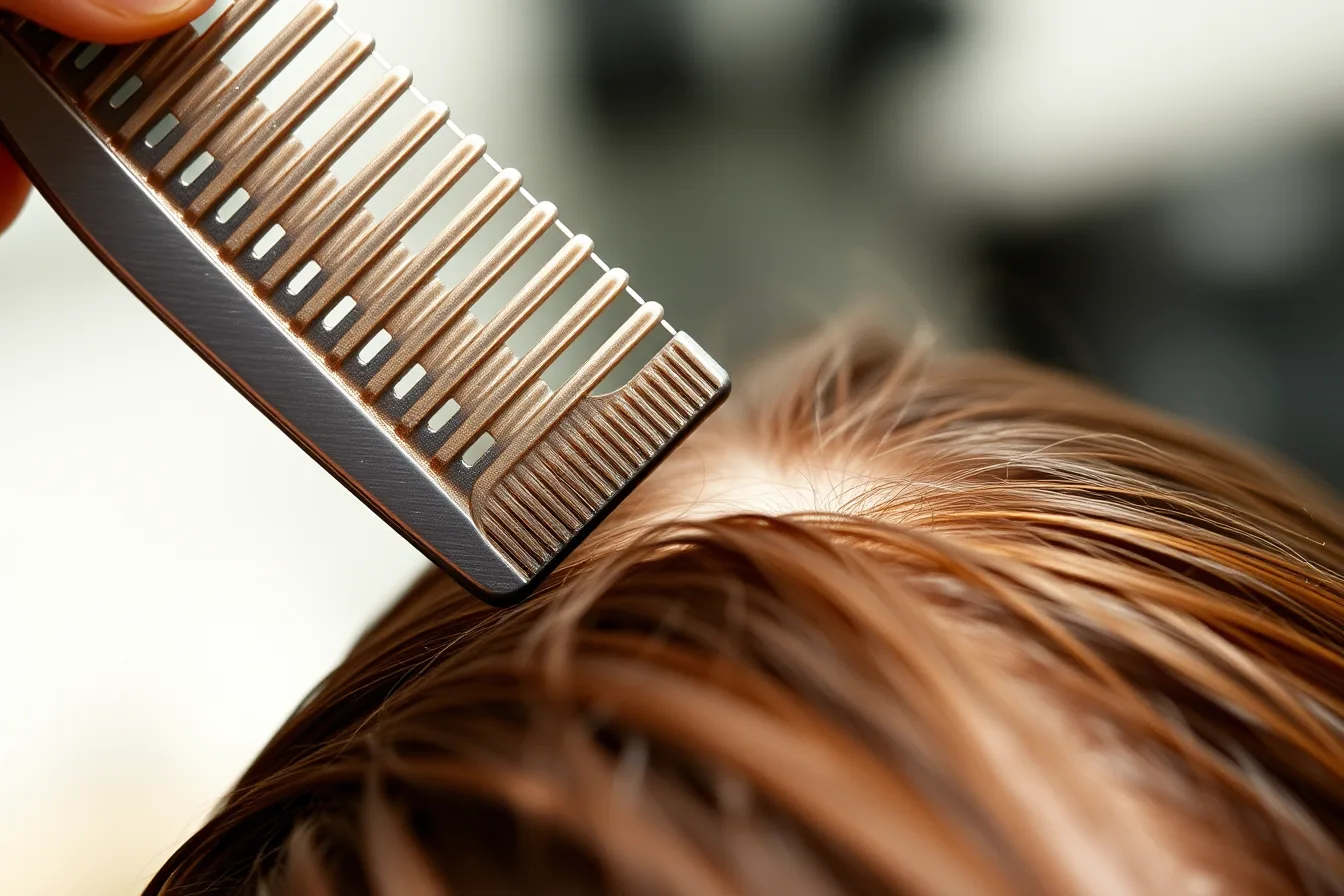
Comb from roots to ends in the chosen distribution. Find the guide before placing fingers. If you cannot see or feel it, make the subsection smaller. Do not guess a line through dense hair.
Step 5: repeat the variables
Use a spoken or written rhythm:
- parting;
- elevation;
- distribution;
- tension;
- finger angle;
- cutting line;
- release and observe.
Adjust only when the plan identifies a head-shape transition, corner, growth pattern, or intentional change. Record that change so the opposite side can be treated consistently when symmetry is intended.
The Australian government's assessment requirements for designing haircut structures call for plans that show interior and exterior design lines, starting points, sectioning, parting patterns, lift angles, and distribution. This reinforces why a guide needs a mapped relationship to the structure rather than serving as an isolated shortest piece.
Step 6: set checkpoints
Pause after a complete panel or a clear head-shape change. Release the hair and compare it with the plan. Check:
- whether the guide still travels at the same pace;
- whether sections widened or narrowed;
- whether the client moved;
- whether moisture changed;
- whether the cutting hand drifted;
- whether a corner was preserved or rounded unintentionally.
Correct a small drift at its source. Do not keep following an error and hope dry detailing will remove it.
Step 7: cross-check without replacing the guide
Use partings that intersect the original work. Lift only as the structure requires. Look for abrupt length jumps, holes, missed strands, and inconsistent corners. If the cross-check conflicts with the design map, return to the map before cutting.
When the guide is lost
Stop. Release the section, return to the last verified area, and take a narrower subsection. Reestablish the known reference with the original variables. If the guide vanished because the structure changes, create the planned new guide rather than stretching the old one into another zone. Deciding where a structure legitimately changes is part of comparing layered haircut structures.
Common questions
Can a guideline be curved?
Yes. It may follow a designed curve, but the direction and relationship to each section must remain clear.
How much previous hair should enter the next section?
Only enough to show or feel the reference reliably without dominating the new subsection.
What if the client changes head position?
Reset posture and recheck the last verified guide before continuing.
Should a disconnected section follow the same guide?
Not across the planned break. Give the disconnected zone its own documented reference.