Guides
Part of Crown shape, side weight and daily styling: the wolf cut guide
Planning a customized wolf cut from zone map to final finish
Customized wolf cut planning from consultation and zone mapping through crown guides, face framing, side connection, perimeter protection, dry checks, and records.
What to take away
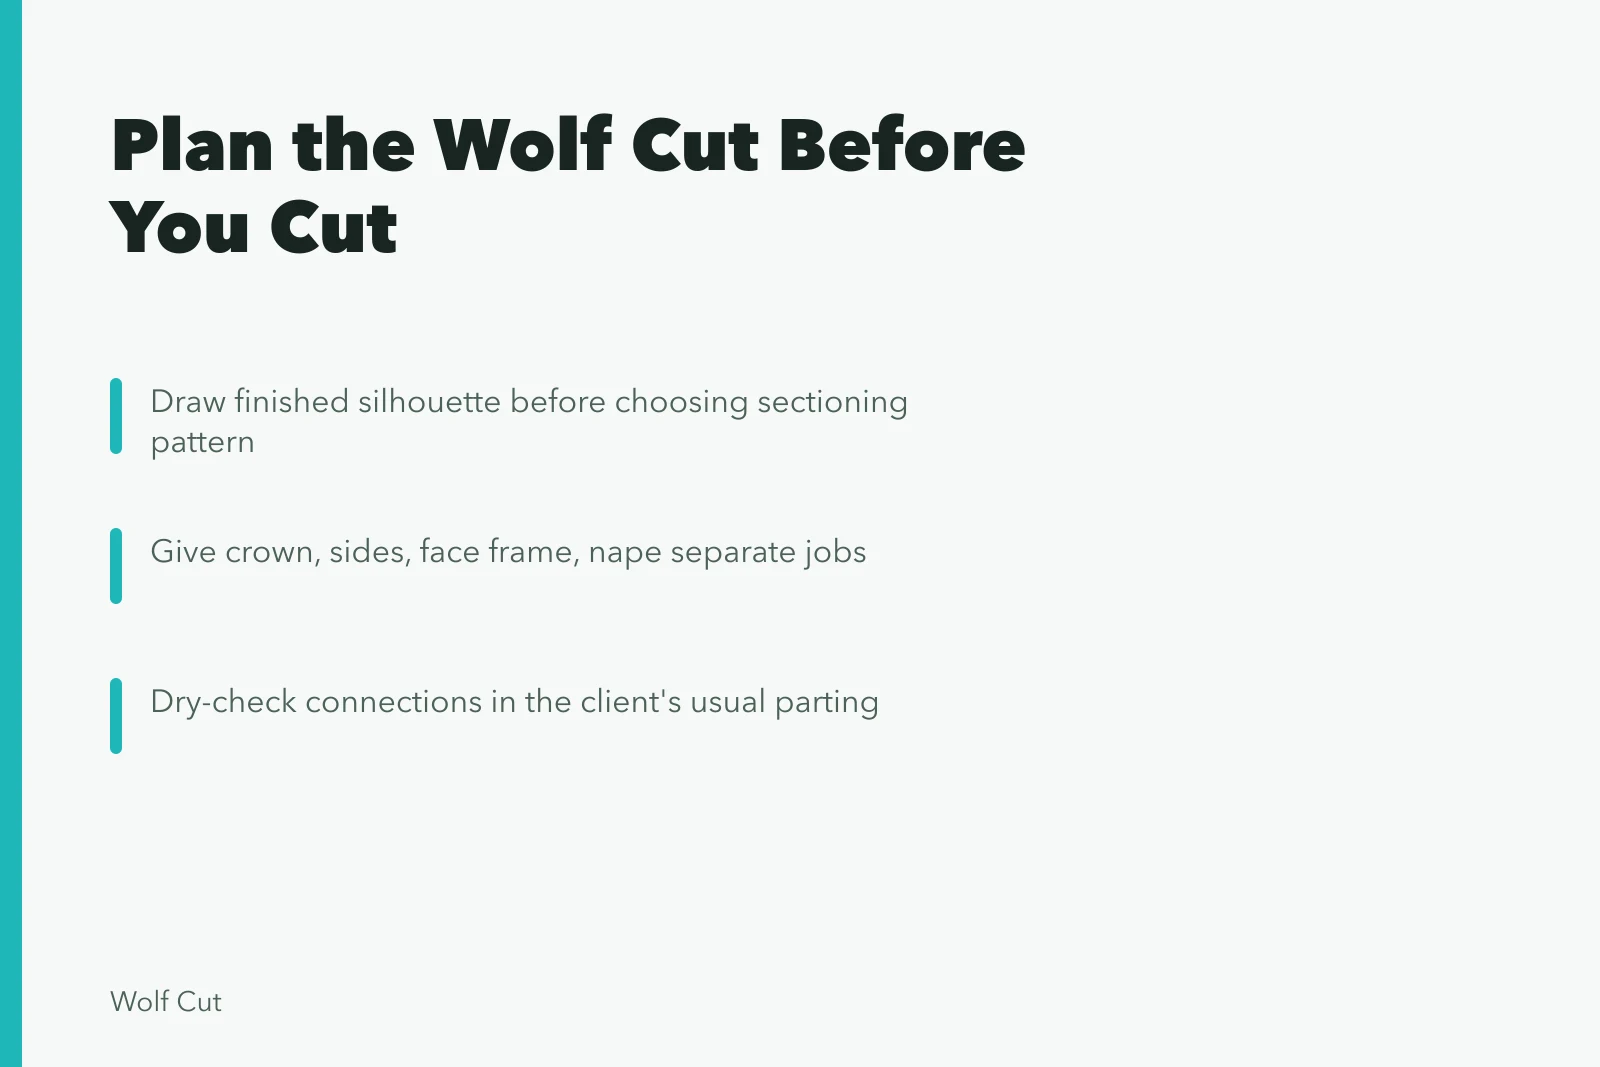
- Draw the finished silhouette before deciding on a sectioning pattern.
- Give the crown, sides, face frame, nape, fringe, and perimeter separate jobs.
- Set conservative reference lengths, then increase contrast only after checking the fall.
- Preserve a controlled perimeter when density or condition makes wispy ends unsuitable.
- Dry-check every deliberate connection and disconnection in the client's usual parting.
This workflow is for trained haircutters adapting a layered concept to one client. It is not a universal cutting recipe. Tool choice, tension, elevation, distribution, and working state must suit the intended structure and the hair in front of you. The shape itself is introduced in the wolf cut guide.
1. Write the visual brief
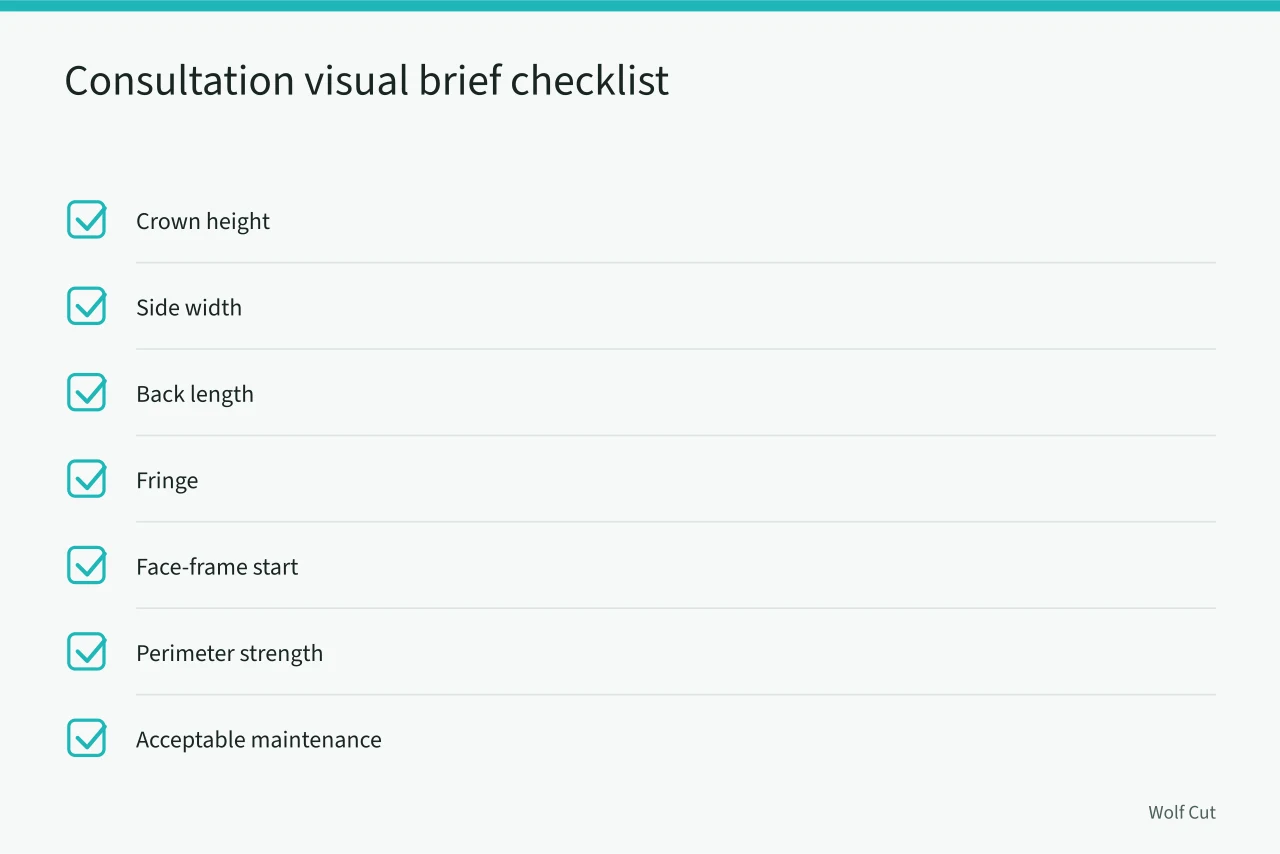
Turn the consultation into a short list of observable outcomes. Record the desired crown height, side width, back length, fringe, face-frame start, perimeter strength, and acceptable maintenance. Ask which parts should feel bold and which should remain quiet. The wolf cut consultation checklist turns that into questions the client can answer.
Examine density by zone, strand diameter, natural fall, whorls, recession, shrinkage, elasticity, porosity, breakage, and previous structure. Confirm the ordinary parting and styling routine. If the client alternates between natural and heat-styled finishes, discuss which state controls the length decisions. A movement map of the head records the growth directions that survive both finishes.
2. Draw a zone map
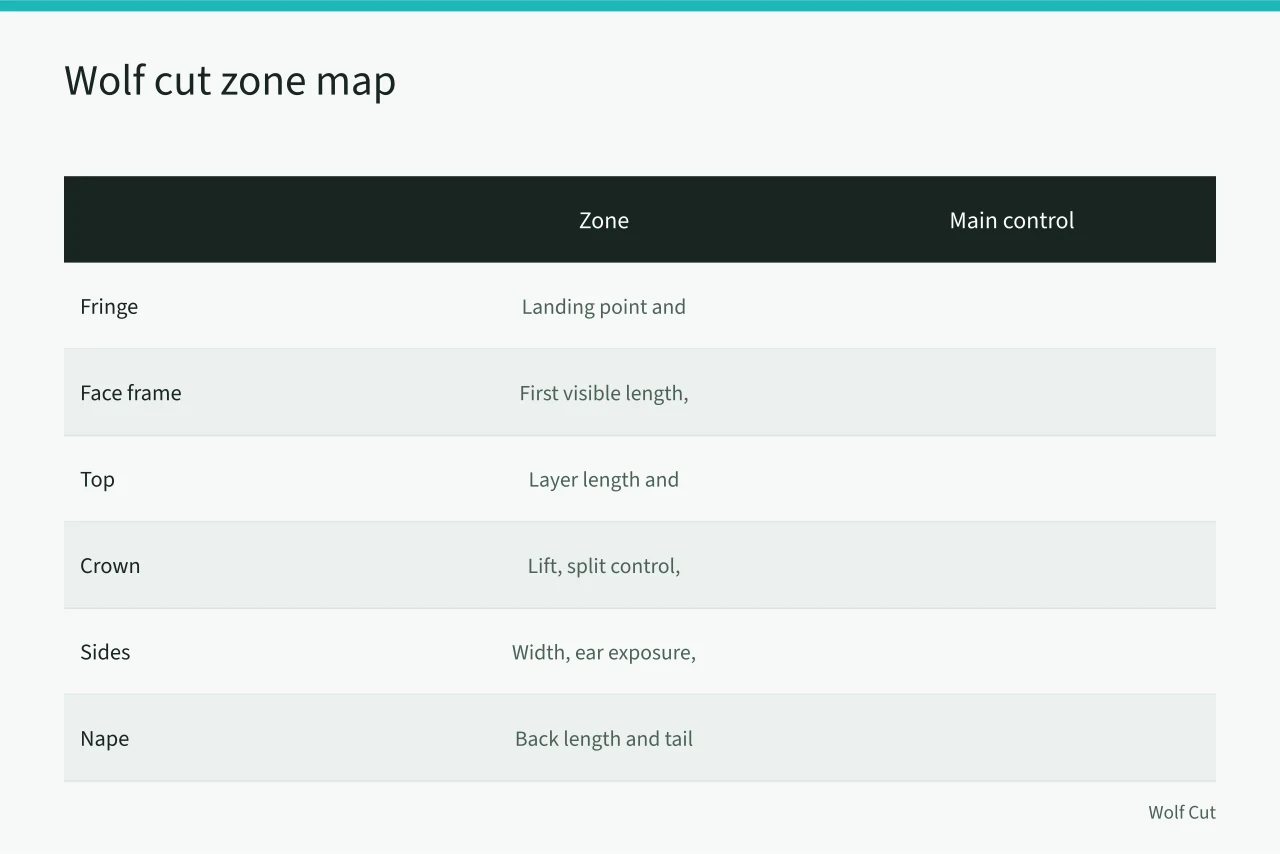
Separate the head into functional areas rather than copying a fixed number of sections:
| Zone | Main control |
|---|---|
| Fringe | Landing point and movement around the hairline |
| Face frame | First visible length and cheek-to-jaw progression |
| Top | Layer length and forward or radial distribution |
| Crown | Lift, split control, and connection to the back |
| Sides | Width, ear exposure, and link to the perimeter |
| Nape | Back length and degree of tail-like separation |
| Perimeter | Retained density and exterior outline |
Mark where one structure joins another. The official assessment requirements for combined haircut structures call for analysis of texture, density, growth patterns, fall, movement, facial features, and bone structure, followed by planned use of multiple structural and cutting elements. A customized wolf cut needs the same cause-and-effect thinking.
3. Choose the working state
Wet cutting can provide orderly sections and consistent tension. Dry cutting can show natural expansion, curl groupings, and perimeter transparency. A mixed approach may establish the main structure in one state and refine it in the other.
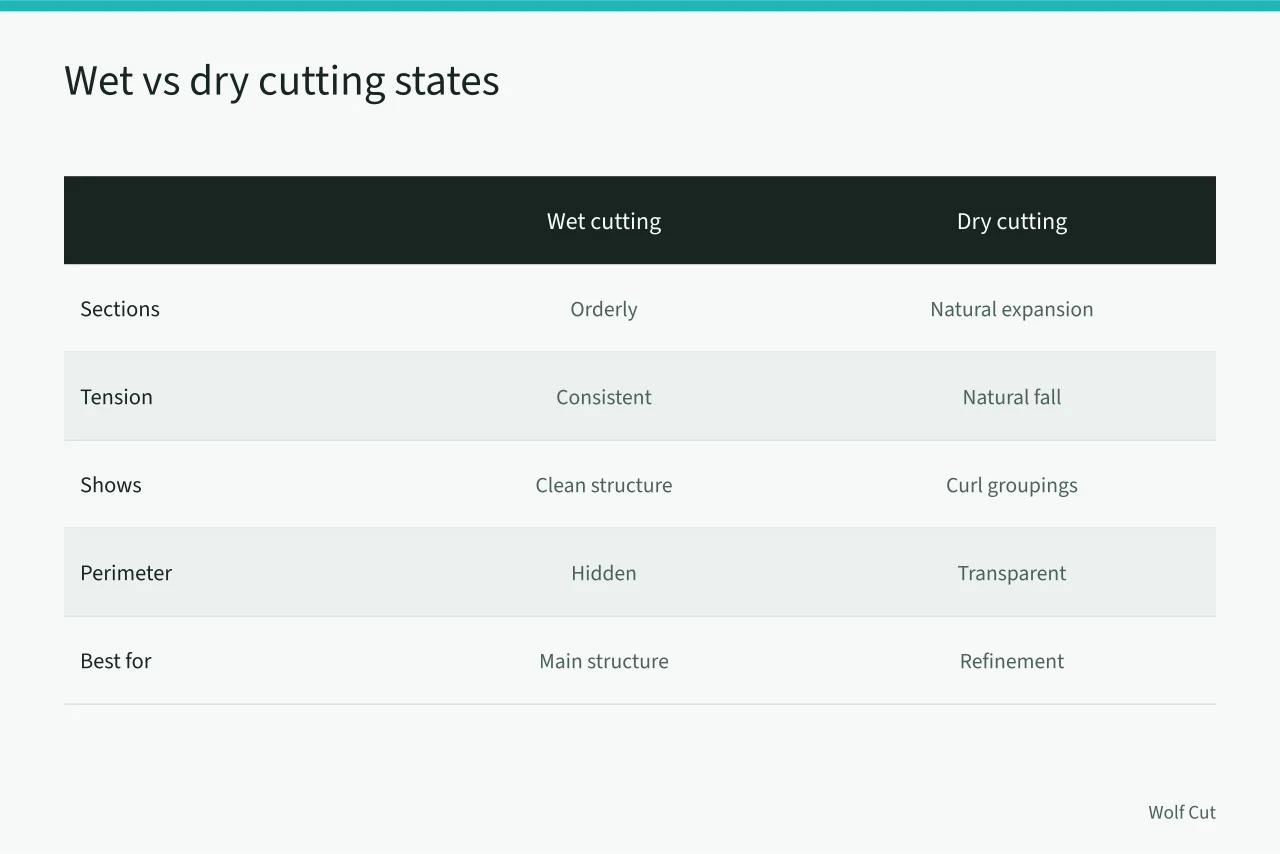
Keep the state consistent within a guide-dependent zone. Rewetting one subsection or applying uneven tension changes the apparent length. Research on hair moisture sorption and hysteresis explains why. As relative humidity rises, the fiber takes up water in stages and swells. Those transitions show up in its mechanical behavior.
For curl, find how much shrinkage varies from fringe to nape before setting short references.
4. Establish a cautious top reference
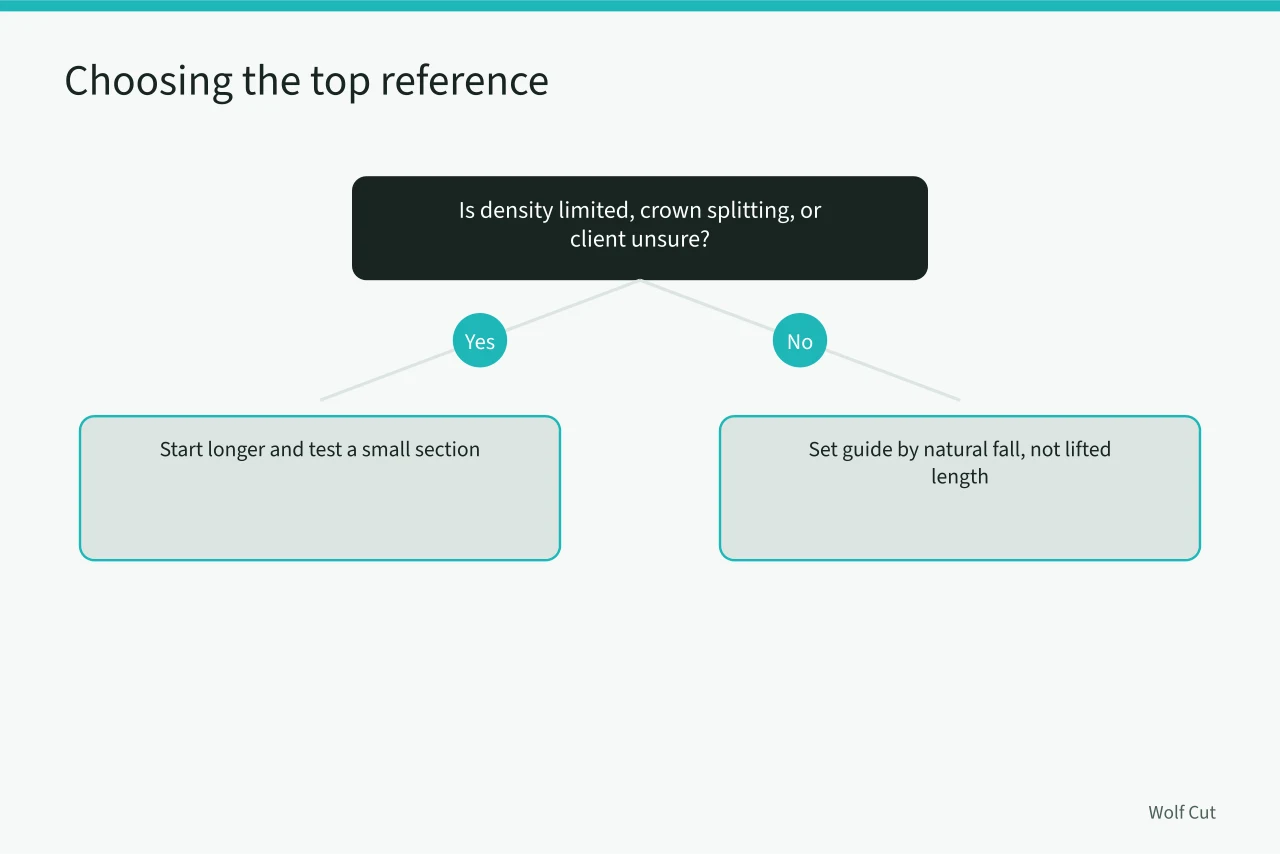
Choose the top or crown guide by considering how it will fall, not how long it looks when lifted. Start longer if density is limited, the crown splits, or the client is unsure about height. Release a small test section and view it without forced volume.
Decide whether the top distributes forward, upward, radially, or toward a stationary guide. Each choice moves weight. Follow the design map rather than pulling every section to the most convenient hand position.
5. Build the face frame independently
Set the shortest face-framing point with the hairline, shrinkage, eyewear, and normal parting in mind. Progress toward the side length in a visible sequence. Do not use the fringe as an accidental guide for the entire side unless that is the planned relationship.
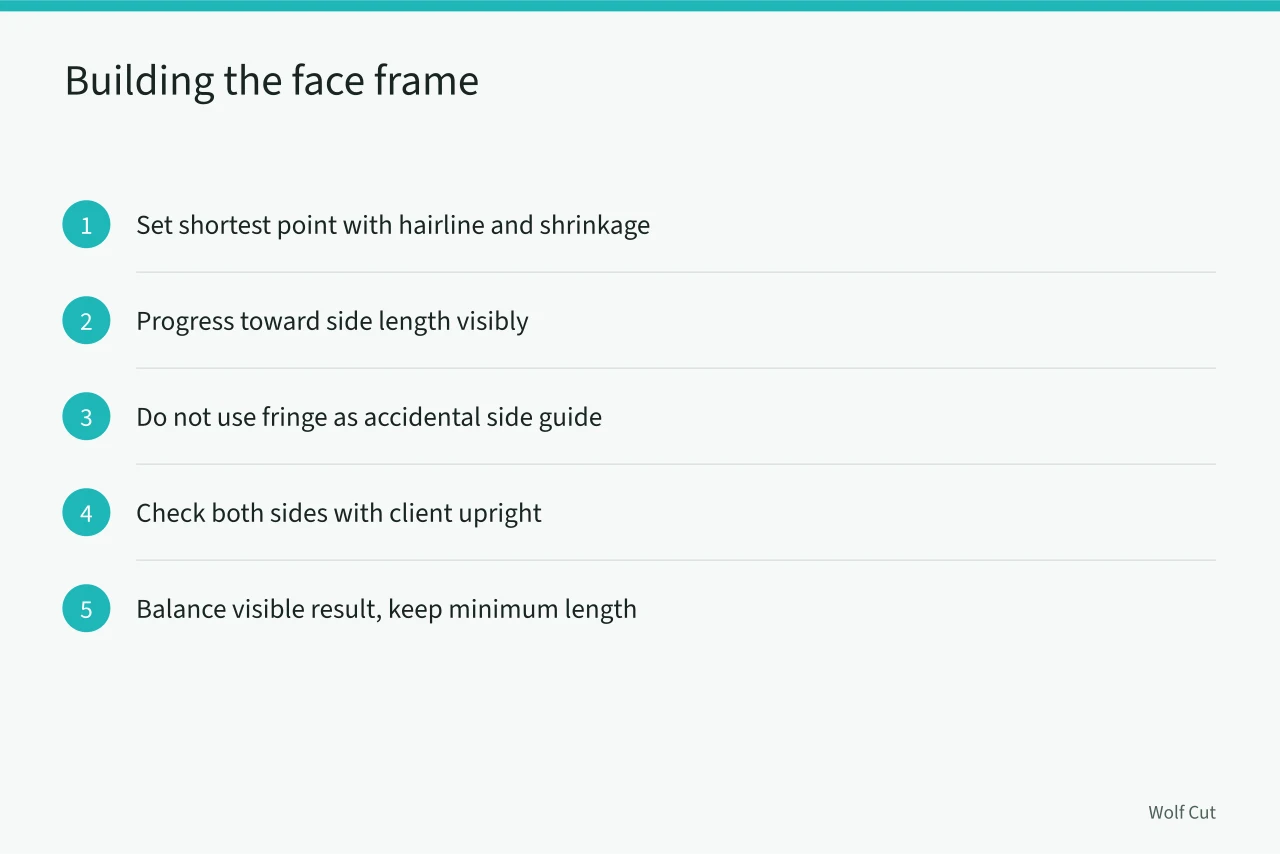
Check both sides with the client upright. Natural asymmetry, density, and parting can make mechanically equal sections look different. Balance the visible result while preserving the agreed minimum length.
6. Decide how the sides connect
Comb the side into natural fall and identify the weight that protects coverage over the ear and temple. Then choose among a full connection, a soft visual blend, or a clear disconnection under the top.
A full connection gives a continuous progression but may remove too much lower density. A disconnection protects length or creates contrast, but it must be placed and recorded. An accidental gap often appears as a hole when the hair moves.
Work on one small area, release it, and compare the profile with the map. Do not chase an airy reference by repeatedly thinning the same side panel.
7. Protect or reshape the perimeter
Before removing lower weight, count how much hair still reaches the edge. A dense perimeter can be broken deliberately. A transparent perimeter usually needs length and a restrained texture plan.
Cut the outline in the client's settled head position. Then move the hair forward and back to see whether face framing has created an unintended corner or tail. Keep the nape separate if the design calls for clear front-to-back contrast.
8. Dry-check the structure
Dry with moderate handling first. Let the hair find its usual parting and movement. Check:
- crown height from the front and profile;
- side width above and behind the ear;
- face-frame landing points;
- nape length and symmetry;
- perimeter density against clothing or a contrasting cape;
- every planned disconnected edge.
Add texture only after these checks. Remove small, named areas of weight and release the hair after each change. Each removal method behaves differently, as blunt, point, slide, and channel cutting sets out.
9. Teach one realistic finish
Show the client how to reproduce the direction and separation with the tools they own. If the haircut requires a diffuser, round brush, or hot tool to match the reference, say so. Demonstrate a lower-effort option and explain how its silhouette will differ.
10. Record the plan
Note reference lengths, parting, distribution, side connection, fringe, perimeter, nape, texture method, dry adjustments, and styling response. Photograph the finished views only with consent and under the salon's privacy process.
Common questions
Should the shortest layer always sit at the crown?
No. Its location depends on the intended silhouette, growth pattern, density, and how the hair will be styled.
Must both sides use identical sections?
The plan should be controlled, but visible balance may require thoughtful adjustment for parting, growth, and density differences.
When should texturizing happen?
After the main length relationships and perimeter have been checked in natural fall.
Why record a disconnection?
It prevents a deliberate structural choice from being mistaken for an error at the next service.