Guides
Part of Shrinkage and density anchor this curly and coily haircutting guide
Planning a dry-informed curly haircut with a proper zone map
Dry-informed curly haircut planning from representative prep and shrinkage mapping through silhouette building, controlled cutting, reset checks, and records.
What to take away
- "Dry-informed" means dry behavior guides decisions, not that every cut occurs entirely dry.
- Begin with hair in a representative state or reset it before evaluating shape.
- Map shrinkage and pattern variation in several zones.
- Establish the silhouette with conservative changes and frequent releases.
- Recheck after moisture or washing when the starting set may not represent normal wear.
This salon workflow is for trained professionals. It combines dry observation with the cutting state best suited to the client, design, and stylist's competence.
1. Establish a representative starting point
Ask how the hair was prepared, how old the current set is, which products are present, and whether it has been stretched, braided, twisted, banded, tied, or slept on. View photographs of the client's usual result if available.
If the hair is heavily tangled, compressed, coated, or set in a way the client rarely wears, do not base the entire shape on it. Agree to cleanse, condition, detangle, and dry in a representative manner before major length decisions. The wider method is set out in the curly and coily haircutting guide.
2. Clarify the wearing states
List the finishes the client uses most often. A cut may need to work in a wash-and-go and an occasional blow-dry, or in a twist-out and a stretched protective style. Identify which state controls the shortest acceptable length and which differences the client accepts.
The American Academy of Dermatology's curly hair care tips recommend sectioned detangling on thoroughly wet, conditioned hair with fingers or a suitable wide-tooth tool, and warn against dry brushing because of breakage and frizz. That care guidance supports preparing the hair gently before shape analysis. It does not prescribe a haircutting method.
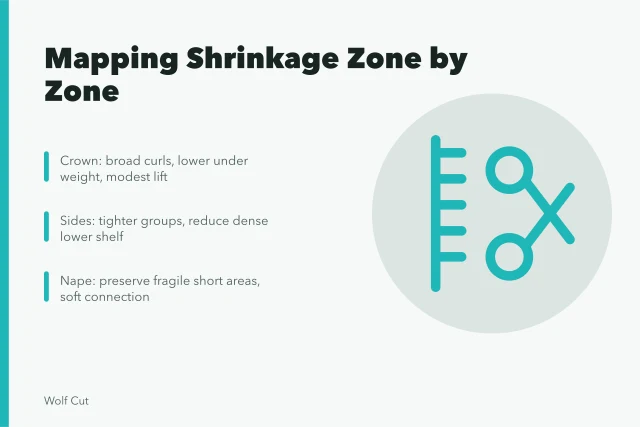
3. Make a zone map
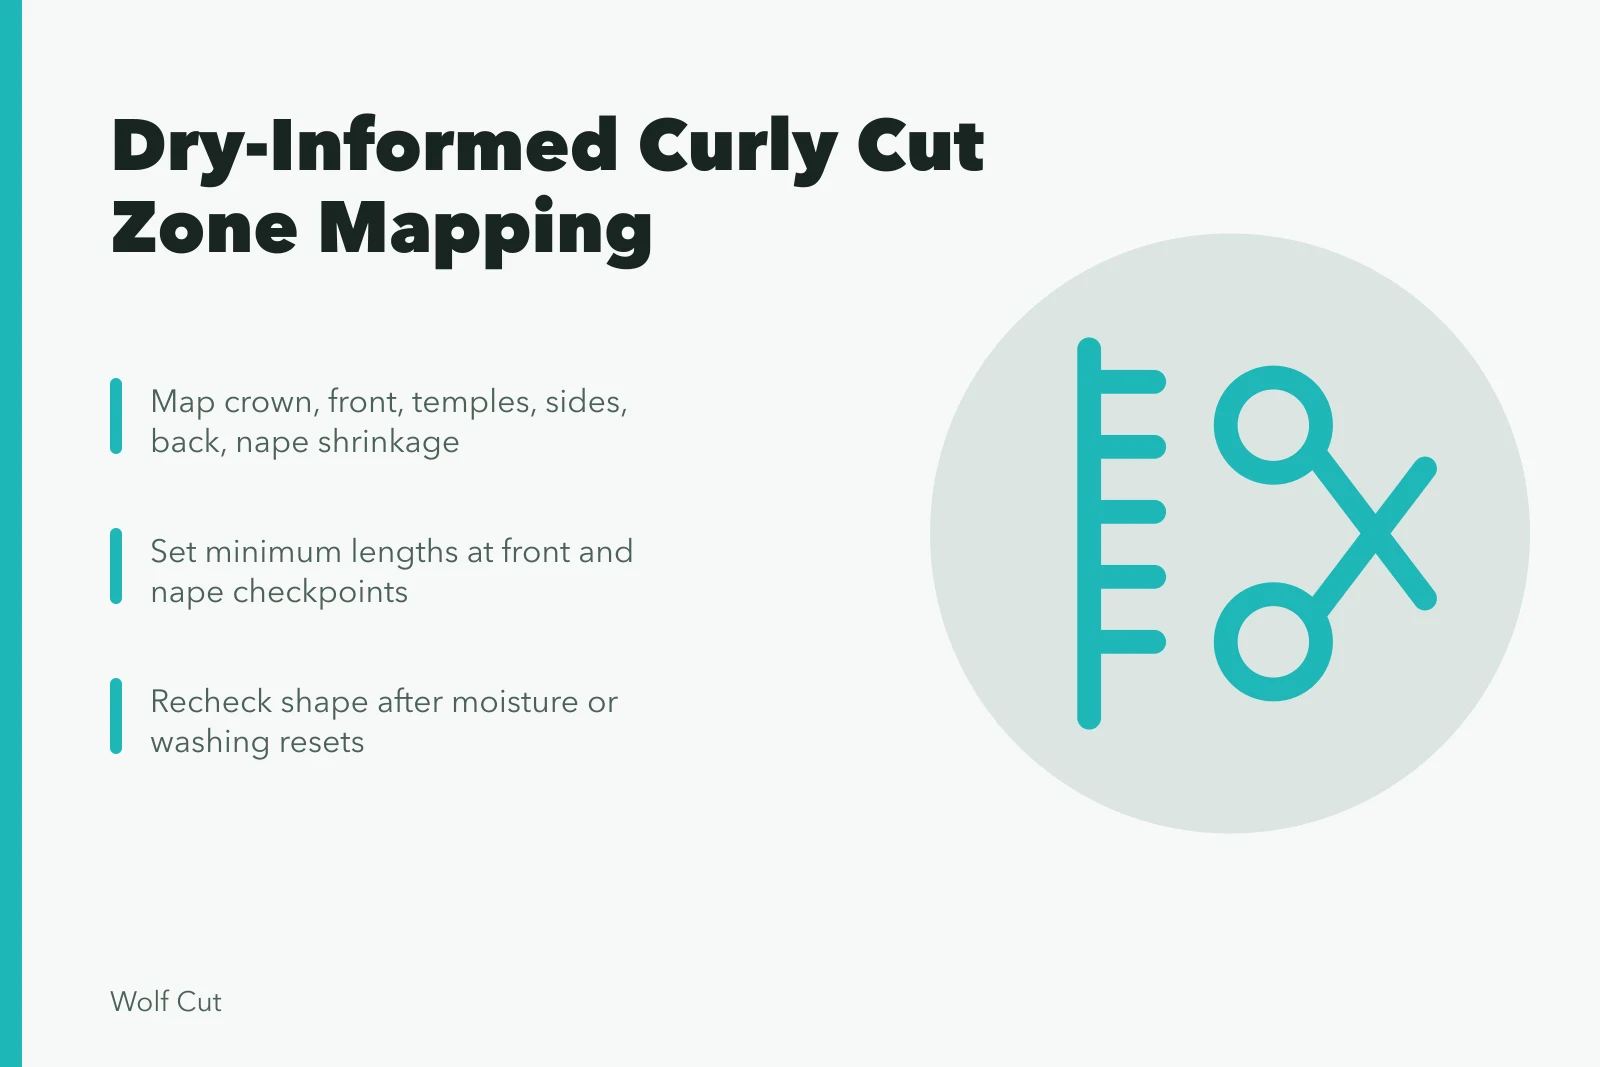
Divide the head into crown, front, temples, sides, back, and nape. For each area, record:
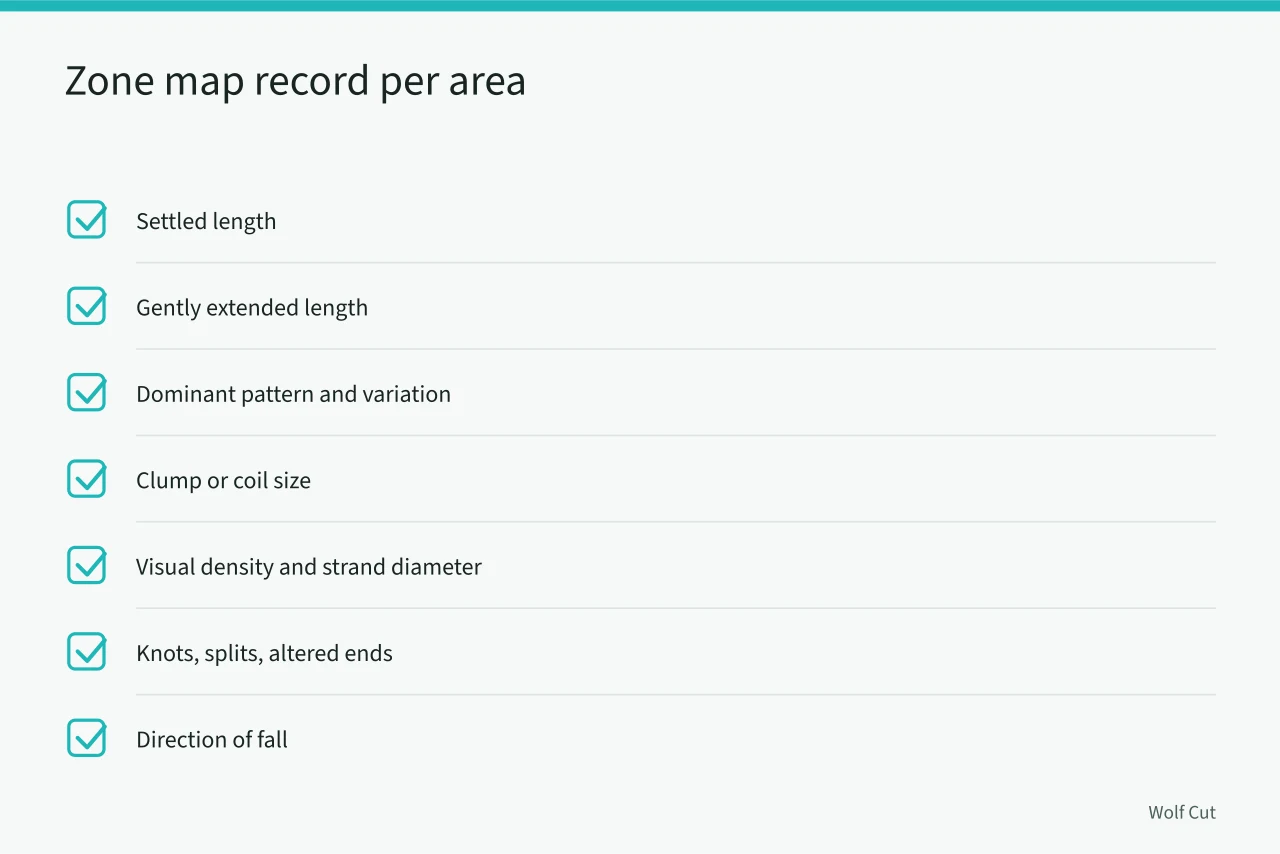
- settled length;
- gently extended length;
- dominant pattern and variation;
- clump or coil size;
- visual density;
- strand diameter;
- knots, splits, or altered ends;
- direction of fall.
Do not calculate one shrinkage percentage and apply it everywhere. The map should show where the same extended length produces different occupied space. A shrinkage and pattern checklist gives the zones to compare.
4. Draw the silhouette
Agree on maximum width, crown height, perimeter, face opening, and nape. Use the mirror to mark those boundaries around the actual head. Decide whether the client wants a rounded, tapered, layered, angular, or intentionally asymmetric shape.
Establish minimum lengths at the front and nape. These checkpoints matter because a springing section can rise far above its cutting position once released.
5. Choose the cutting state by zone
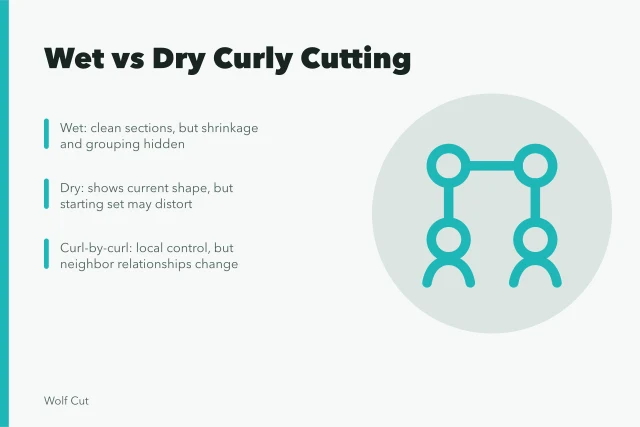
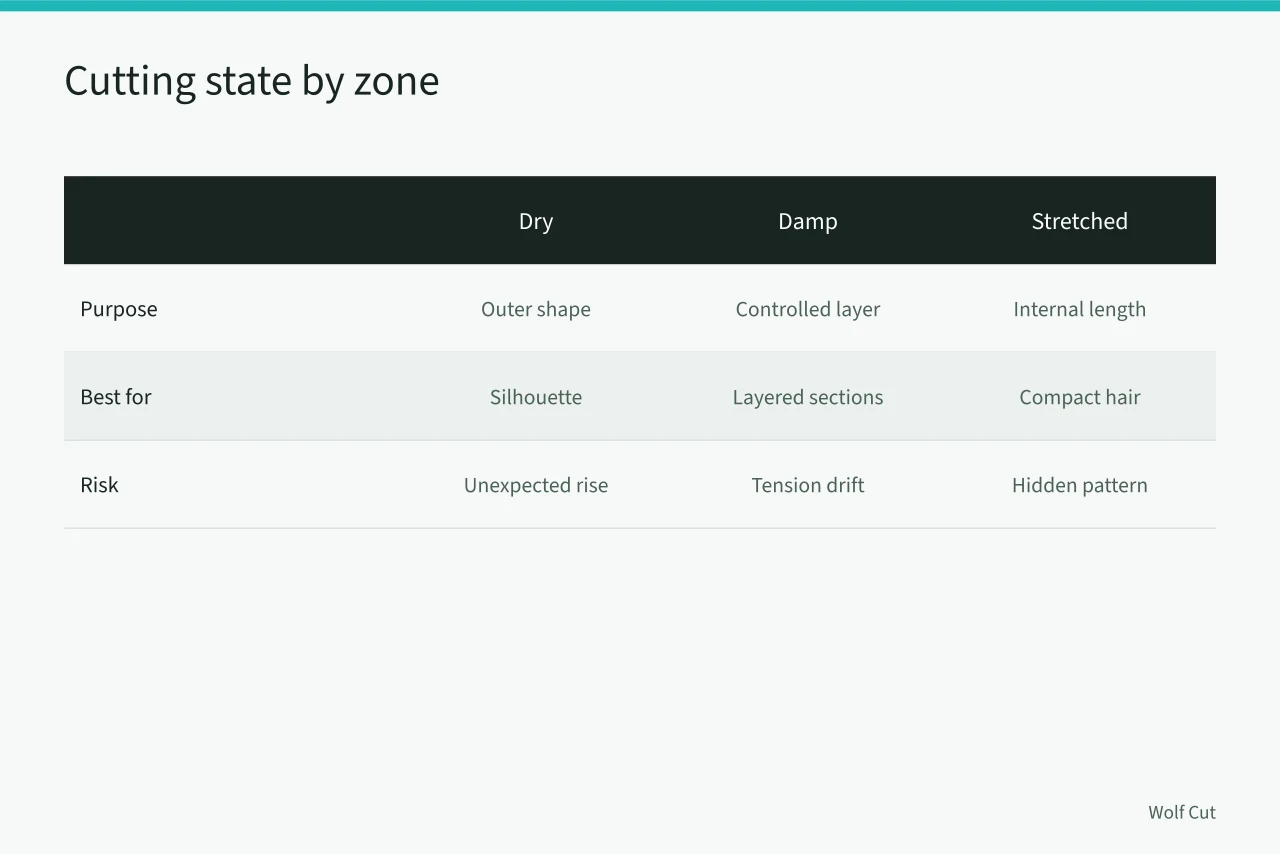
The plan might use dry cutting for the outer shape, damp sections for a controlled layer, or a stretched state for compact hair whose internal length relationships are difficult to see. Write down the purpose of each state. The trade-offs of wet, dry, curl-by-curl, and stretched work are worth reading side by side.
Keep guide-dependent subsections similarly hydrated and tensioned. A comparison of hair lipids across ethnic hair types found differences between them in water uptake and desorption.
African hair showed lower moisturization and less radial swelling when flushed with water, and the study links those differences to the fibers' mechanical properties. A wetting routine that suits one head is not a neutral control on another.
When moving from wet to dry, treat the dry review as a separate checkpoint. Do not assume the earlier guide predicts the final landing point.
6. Create a conservative outer shape
Start where the design has the lowest risk of unexpected rise. Cut a small amount, release the section, and view it from working distance. Continue around the silhouette with the head upright and the hair in its natural fall.
Do not pull low-density or fine sections to match stronger areas. Preserve coverage and balance the visual mass. Recording density, diameter, and texture separately keeps those judgments honest. Where a group contains stretched or damaged ends, distinguish those ends from the healthy pattern above before deciding on length.
7. Build internal movement
Choose the layer placement by the desired volume distribution. Short upper layers may lift the crown but also reduce the hair contributing to lower fullness. Longer layers may preserve density but leave a wide shelf if the internal mass is very high.
Work in planned zones. Release each layer into surrounding groups. Avoid cutting isolated coils repeatedly until they match a temporary set, because they may join different neighbors after the next wash.
8. Check the front and nape last
Hairlines often show strong variation and are highly visible. Let the front settle in the usual parting, then refine within the agreed minimum. At the nape, compare natural contraction with the back mass before creating a short corner or tail.
Ask the client to move the head normally and put on glasses if relevant. A face-framing piece can rise or shift when it contacts a frame.
9. Reset and review
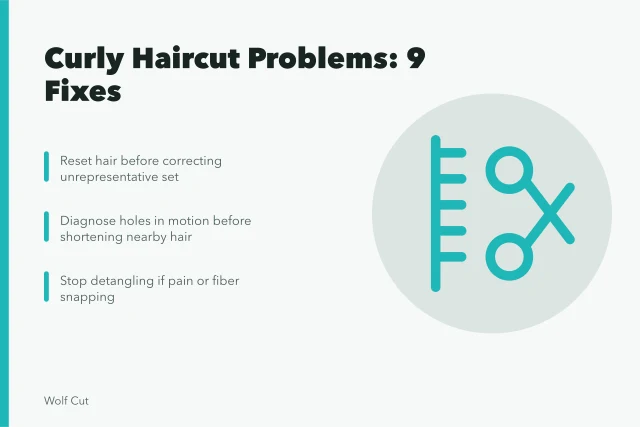
If the initial shape came from an old set or a stretched state, add enough moisture or perform the agreed wash and finish to see how groups reform. Check for holes, shelves, unexpected rise, and uneven width. Make only small corrections on the confirmed final behavior.

10. Record what changed
Document the starting set, shrinkage map, working states, silhouette, guides, protected areas, reset response, products, drying method, and client feedback. Those details make the next service a continuation rather than a guess.
Common questions
Does dry-informed mean dry-only?
No. It means the hair's dry behavior informs the plan and final review, even if some sections are cut wet or stretched.
Should the client arrive with product-free hair?
Follow the salon's preparation guidance. The main requirement is that the starting state can be understood and, if necessary, reset.
Why map several zones?
Pattern, density, condition, and shrinkage often differ across one head.
When is a wash reset useful?
It helps when the starting style is old, compressed, heavily coated, or unlike the client's normal finish.